Introduction
Installing a solar photovoltaic (PV) system is an exciting way to harness renewable energy, reduce electricity costs, and contribute to a greener future. While professional installation is recommended for safety and compliance, understanding the process empowers homeowners to make informed decisions, plan budgets, and ensure a quality installation.
This guide covers each step of installing a solar PV system, from planning and selecting components to mounting panels, connecting inverters and batteries, commissioning, and maintenance.
Step 1: Planning and Assessment
Before installation, it is essential to assess energy requirements, roof suitability, and local regulations.
Calculate Energy Needs
Determine your average daily electricity consumption in kilowatt-hours (kWh). Review past utility bills to estimate peak loads and seasonal variations.
Roof Assessment
- Check roof orientation: North-facing roofs capture maximum sunlight in the southern hemisphere.
- Measure roof size and shading from trees or neighboring structures.
- Ensure structural integrity to support solar panels and mounting hardware.
Regulatory Compliance
South African installations must comply with SANS 10142 and local municipality requirements. A professional assessment ensures adherence to electrical codes, safety standards, and potential incentives.
Step 2: Choosing Equipment
Selecting the right components is critical for system efficiency and longevity.
Solar Panels
Choose between monocrystalline, polycrystalline, or thin-film panels based on efficiency, cost, space, and aesthetics.
Inverters
Convert DC electricity from panels into AC for household use.
- String inverters: Cost-effective for small to medium systems.
- Microinverters: Individual panel optimization for higher efficiency.
- Hybrid inverters: Integrate solar and battery storage management.
Batteries (Optional)
Batteries store excess energy for nighttime use or grid outages. Lithium-ion is preferred for residential systems due to efficiency and lifespan.
Mounting System
Select roof, ground, or carport mounts based on site requirements. Ensure corrosion-resistant materials for longevity.
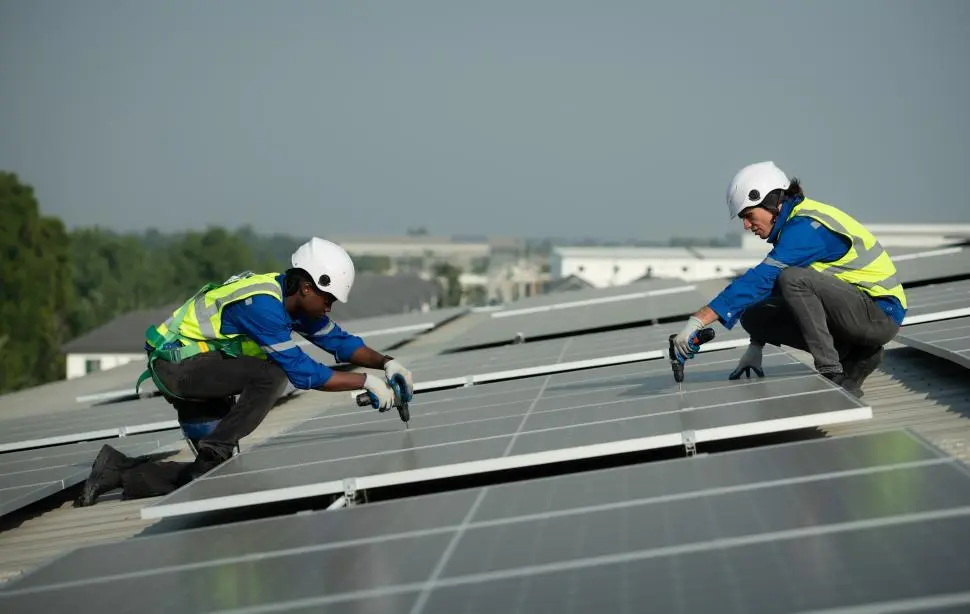
Step 3: Installation Process
Installation involves mechanical mounting and electrical connections.
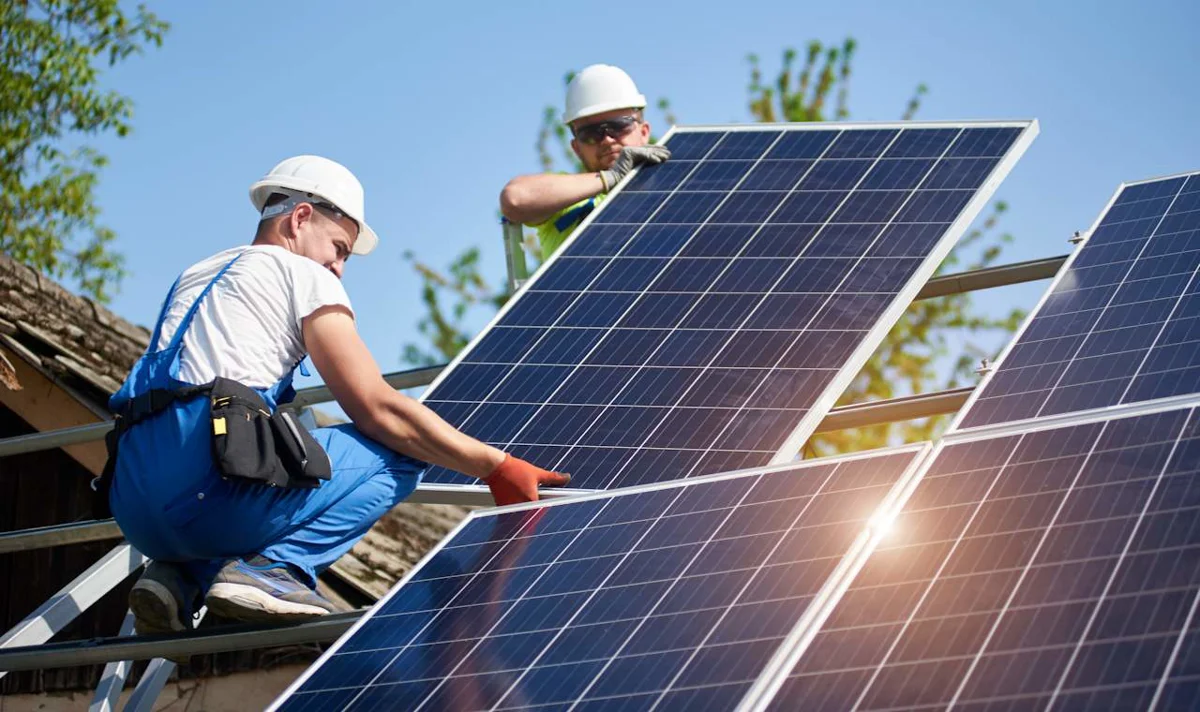
Panel Mounting
- Install racking system aligned with roof tilt and orientation.
- Secure panels using appropriate clamps and fasteners.
- Maintain gaps for thermal expansion and ventilation.
Electrical Connections
- Connect panels in series or parallel depending on voltage requirements.
- Run DC cables to inverter location, maintaining proper polarity and minimal voltage drop.
- Install DC isolators and surge protection devices.
Inverter Installation
- Mount inverter in a shaded, ventilated area near distribution board.
- Connect AC output to household distribution board.
- Ensure proper grounding and compliance with electrical codes.
Battery Integration
If batteries are included, connect according to manufacturer guidelines. Use charge controllers or hybrid inverters to optimize charging, prevent over-discharge, and prolong lifespan.
Step 4: System Testing and Commissioning
After installation, perform thorough testing:
- Verify electrical connections and polarity.
- Check inverter and battery operation.
- Measure system voltage, current, and energy output.
- Register system with local municipality and NERSA for grid-tied installations.
"A properly commissioned solar PV system ensures safety, efficiency, and compliance."
Step 5: Monitoring and Maintenance
Monitoring ensures optimal performance and early detection of issues.
- Use monitoring apps or software provided by inverter manufacturers.
- Clean panels regularly to remove dust, leaves, and debris.
- Inspect mounting hardware, wiring, and inverter periodically.
- Check battery performance and maintain according to type.
Safety Considerations
- Follow manufacturer installation guidelines strictly.
- Use appropriate personal protective equipment (PPE).
- Ensure correct grounding, fuses, and isolation devices.
- Hire a licensed electrician for all AC connections and commissioning.
Financial Considerations and Incentives
Solar PV installation reduces electricity bills and increases property value. Incentives may include:
- Municipal rebates
- Net metering credits for excess energy fed into the grid
- Tax incentives for renewable energy investments
Conclusion
Installing a solar PV system requires careful planning, selection of quality components, and adherence to safety and regulatory standards. By following this step-by-step guide, homeowners can enjoy clean, reliable energy, reduce costs, and contribute to environmental sustainability for decades.