Introduction
Installing a solar photovoltaic (PV) system requires careful planning, the right equipment, and attention to safety and local regulations . Proper installation ensures maximum efficiency, safety, and long-term performance.
This guide provides a step-by-step process for installing a solar PV system — from initial assessment to final commissioning — suitable for homeowners, DIY enthusiasts, and small commercial installations .
Before any installation, assess your site to determine the best location for solar panels:
Roof Orientation: North-facing roofs receive maximum sunlight in South Africa.Structural Integrity: Ensure the roof can safely support panels and mounting hardware (min 15 kg/m²).Shading: Identify trees, chimneys, or buildings — use solar pathfinder or apps like SunSeeker.Energy Audit: Calculate consumption (kWh/month) to size system correctly.
Pro Tip:
Use PV*SOL or Aurora Solar for accurate shading and yield modeling.
Step 2: Selecting Equipment
Choosing the right components is crucial for system efficiency:
Core Components
Panels: Monocrystalline (high efficiency), Polycrystalline (cost-effective)Inverters: String, Microinverters, or Hybrid (e.g., Victron, Deye)Batteries: Lithium-ion (Pylontech, BYD) or Lead-acidMounting: Unirac SM, ProSolar RoofTrac (2400 Pa rated)
Optional
Monitoring: Victron VE.Direct, SolarEdge
Surge Protection: Dehn, Citel
DC Isolators: IMO, Santon
Step 3: Preparing the Installation Site
Prepare the roof or ground area before mounting panels:
Clean the roof surface or ground area (remove moss, dirt).
Install flashing or waterproofing where mounts attach (Sikaflex, EPDM seals).
Mark panel layout for optimal spacing and tilt (30° in SA).
Step 4: Mounting the Panels
Install mounting hardware according to manufacturer specifications:
Secure rails or mounts with proper anchors (stainless steel).
Use a level to ensure consistent tilt and alignment.
Double-check torque settings (e.g., 12–15 Nm for M8 bolts).
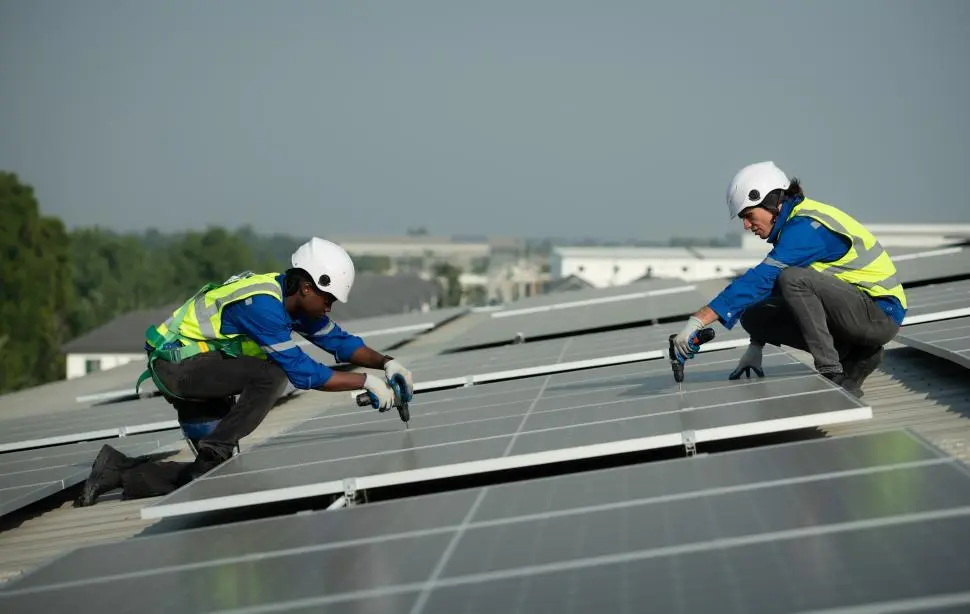
Step 5: Installing Solar Panels
Attach panels to the mounting system carefully:
Lift panels safely with adequate personnel or mechanical assistance.
Secure panels using mid-clamps and end-clamps.
Maintain proper spacing for thermal expansion and airflow (100 mm between rows).
Step 6: Electrical Wiring
Connect panels in series or parallel depending on system design:
Use 4mm² or 6mm² solar cable (UV-resistant, double-insulated).
Ensure correct polarity for each panel.
Install junction boxes and fuses as required.
Route cables neatly to the inverter location, avoiding sharp bends and exposure to UV damage.
Step 7: Installing the Inverter
The inverter converts DC power from the panels to AC power for home or business use:
Mount inverter on a ventilated wall or suitable location.
Connect DC input from panels and AC output to the distribution board.
Ensure proper grounding and surge protection.
Follow manufacturer startup procedures and safety checks.
Step 8: Battery and Energy Storage (Optional)
For systems with storage:
Install batteries in a ventilated, temperature-controlled location.
Connect batteries to a hybrid inverter or charge controller.
Follow safety guidelines for battery handling and maintenance.
Step 9: System Testing and Commissioning
Once installation is complete, conduct thorough testing:
Verify voltage and current output from panels (use multimeter).
Check inverter operation and error codes.
Test AC output to home or business circuits.
Ensure monitoring systems report accurate production and consumption data.
Step 10: Safety and Compliance
Compliance with South African electrical and building codes is essential:
Engage a licensed electrician for grid-tied connections.
Register the system with your local municipality and NERSA .
Document installation for warranty and insurance purposes.
Maintenance Tips Post-Installation
Maintaining your system ensures maximum performance:
Clean panels every 3–6 months (rain often sufficient in coastal areas).
Inspect mounts, wiring, and inverter annually.
Monitor system production via app — address any drop >10% immediately.
Conclusion
Installing a solar PV system requires careful planning, correct equipment selection, proper mounting, and safe electrical connections . By following this step-by-step guide, homeowners and businesses can ensure efficient, safe, and long-lasting solar energy production , maximizing both environmental and financial benefits.