Introduction
Before installing solar panels, your roof must be structurally sound and properly prepared . This guide walks through roof inspection, repairs, and preparation to ensure safe and efficient installation — compliant with SANS 10160 and SAPVIA best practices.
Check roof strength, age, and material type. Reinforce weak areas as needed.
Roof Age: Less than 20 years preferred. Older roofs may need replacement.Truss Spacing: Max 900 mm centers for IBR/corrugated.Load Capacity: Minimum 15 kg/m² for panels + wind load (2400 Pa).Engineer Sign-Off: Required for commercial or weak structures.
Pro Tip:
Get a structural engineer report — insurers often require it for solar warranties.
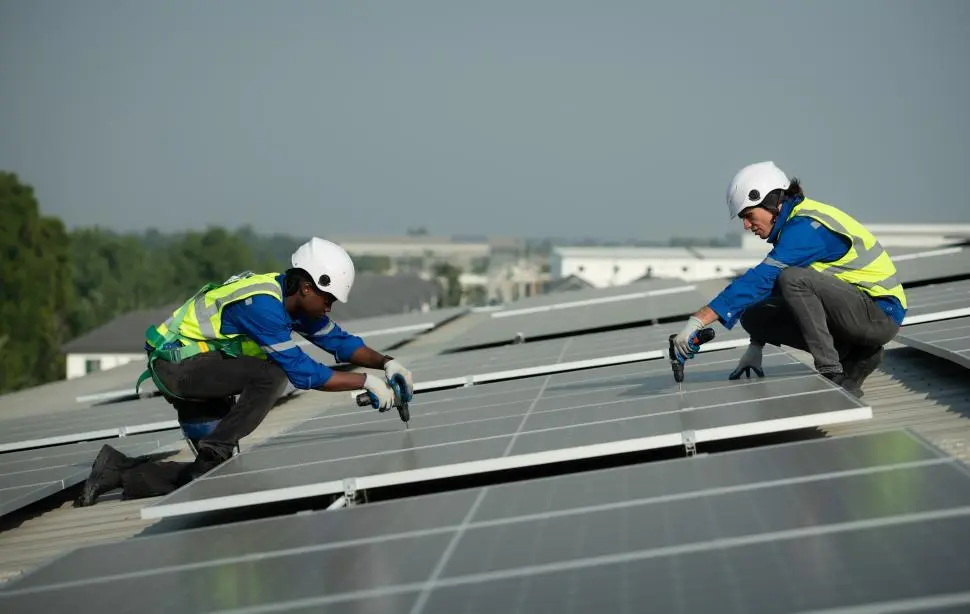
Cleaning and Surface Preparation
Remove debris, dirt, and moss. Ensure smooth, clean surface for mounting hardware.
What to Remove
Leaves, bird droppings, dust
Moss, lichen, algae
Loose paint or rust (metal roofs)
Old satellite dishes or vents
Tools & Methods
Pressure washer (low PSI)
Soft brush + mild detergent
Roof-safe cleaning solutions
Safety harness + non-slip boots
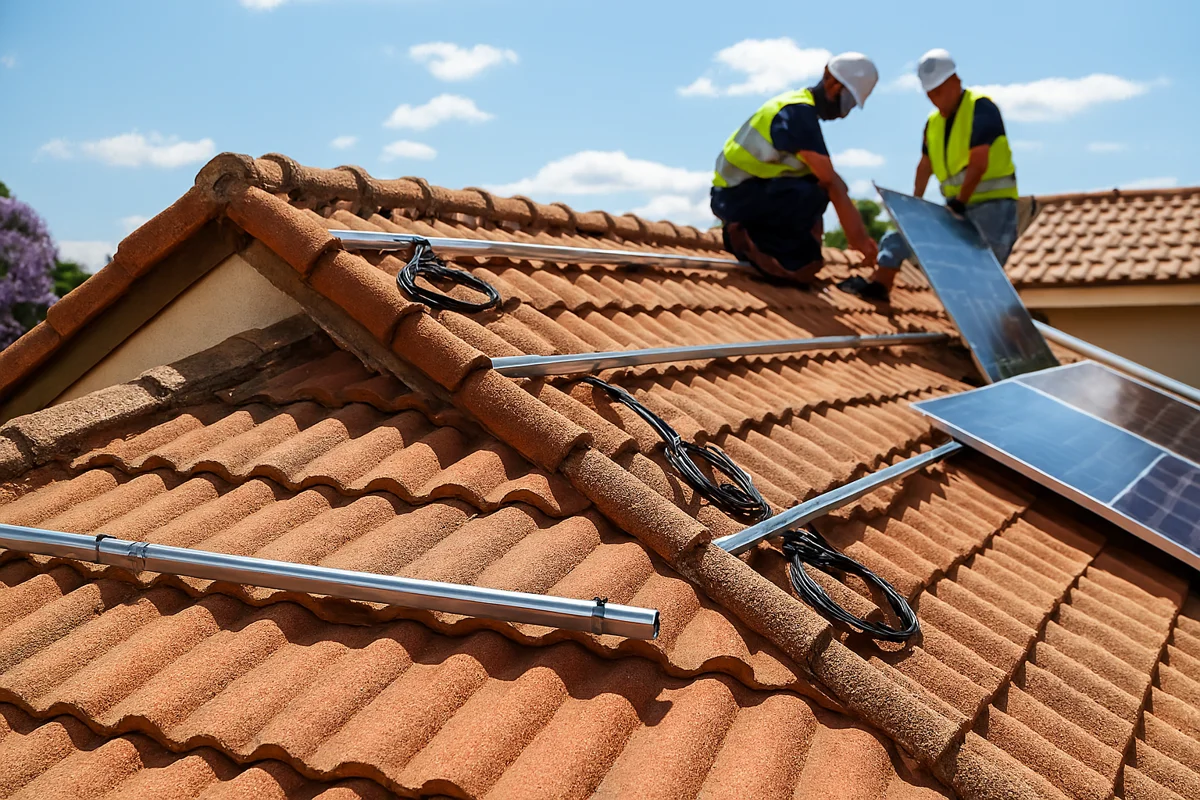
Install or inspect flashing to prevent leaks around mounts.
IBR/Corrugated: Use EPDM rubber seals + stainless bolts.Tile Roofs: Replace tiles with flashings or use tile hooks .Sealant: Use silicone-free polyurethane (e.g., Sikaflex).Test: Hose test after flashing to confirm no leaks.
Warning:
Never drill into roof without proper flashing — 90% of leaks come from poor sealing .
Roof Layout Planning
Mark panel positions to optimize sunlight exposure and airflow.
Key Layout Rules
North-facing (Southern Hemisphere)
30° tilt (optimal in SA)
Min 300 mm from roof edge
100 mm gap between panel rows
Tools
Chalk line + tape measure
Laser level
PV*SOL or Aurora layout software
Shading analysis (sun path)
Conclusion
Proper roof preparation maximizes safety, efficiency, and longevity of your solar PV system. A well-prepped roof ensures 25+ years of leak-free performance and protects your warranty.
Next: Full Installation Guide